Every photographer experiences a dilemma at the beginning of their career when they get to the point of choosing light for a photo shoot. Whether you’re an armature or have been doing so for years, brushing up on some of the most prominent, versatile, and widely utilized lighting techniques is always a good idea. It all comes down to your subject and the concept and atmosphere you’re trying to achieve when determining what type of light to use for your project.
There is no uniformly ideal light per each different situation, but with this handy guide, you’ll commence learning more about different types of lighting, how to ascertain the best lighting to use and how you can up your game in the sense of lighting in the photoshoot. Read on!
Table of Contents
What does Lighting Mean in Photography?
Source: spectrum-brand.com
When it comes to photography, one of the most critical aspects of any shot is the lighting. In photography, the light indicates the position of the light source, which might be spontaneous or contrived, in relation to your subject. The positioning and intensity of light in your final photo can alter everything from sharpness to tonality to sentiment and so much more.
You can become a stronger photographer by paying attention to how light interacts with your subject’s vantage points and curves, as well as which parts of the subject are accentuated and which are dark because you’ll begin to learn how to utilize your source of light in the most appropriate way for any particular project.
Types Of Lighting
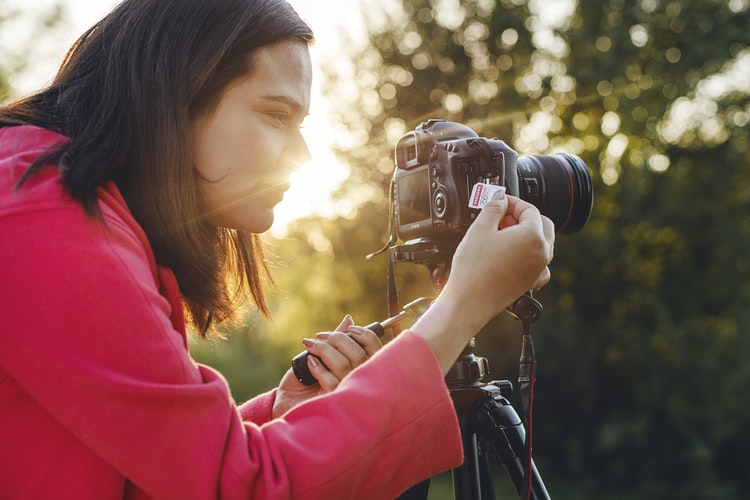
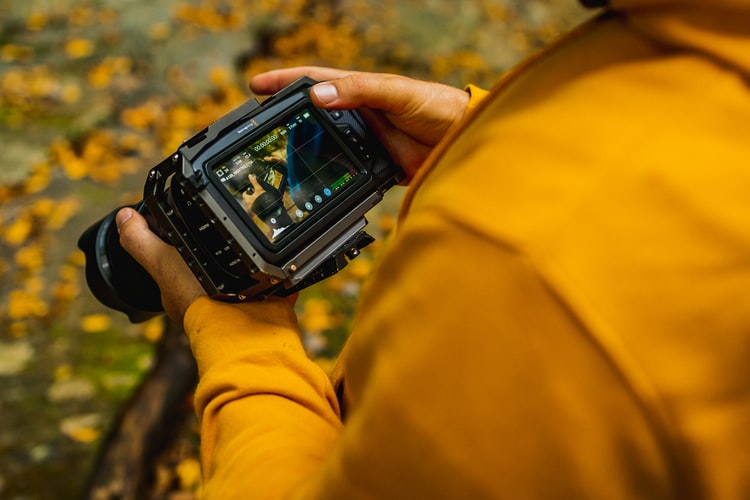
1. Natural Light
Source: unsplash.com
If you wish to picture with natural light, you must first grasp the sun’s angle and how it will affect your composition. For example, the sun is directly overhead for the majority of the day, thus your subject will be lighted from above. A sunny day with no clouds will produce more intense shadows, whereas a cloudy sky will dilute the sunshine, resulting in a less sharp dissimilitude of light over your subject.
Use the times adjacent to daybreak and twilight for softer natural lighting, as the sun will be off to a slight angle rather than straight above your subject, and the intensity of the sun will be less severe.
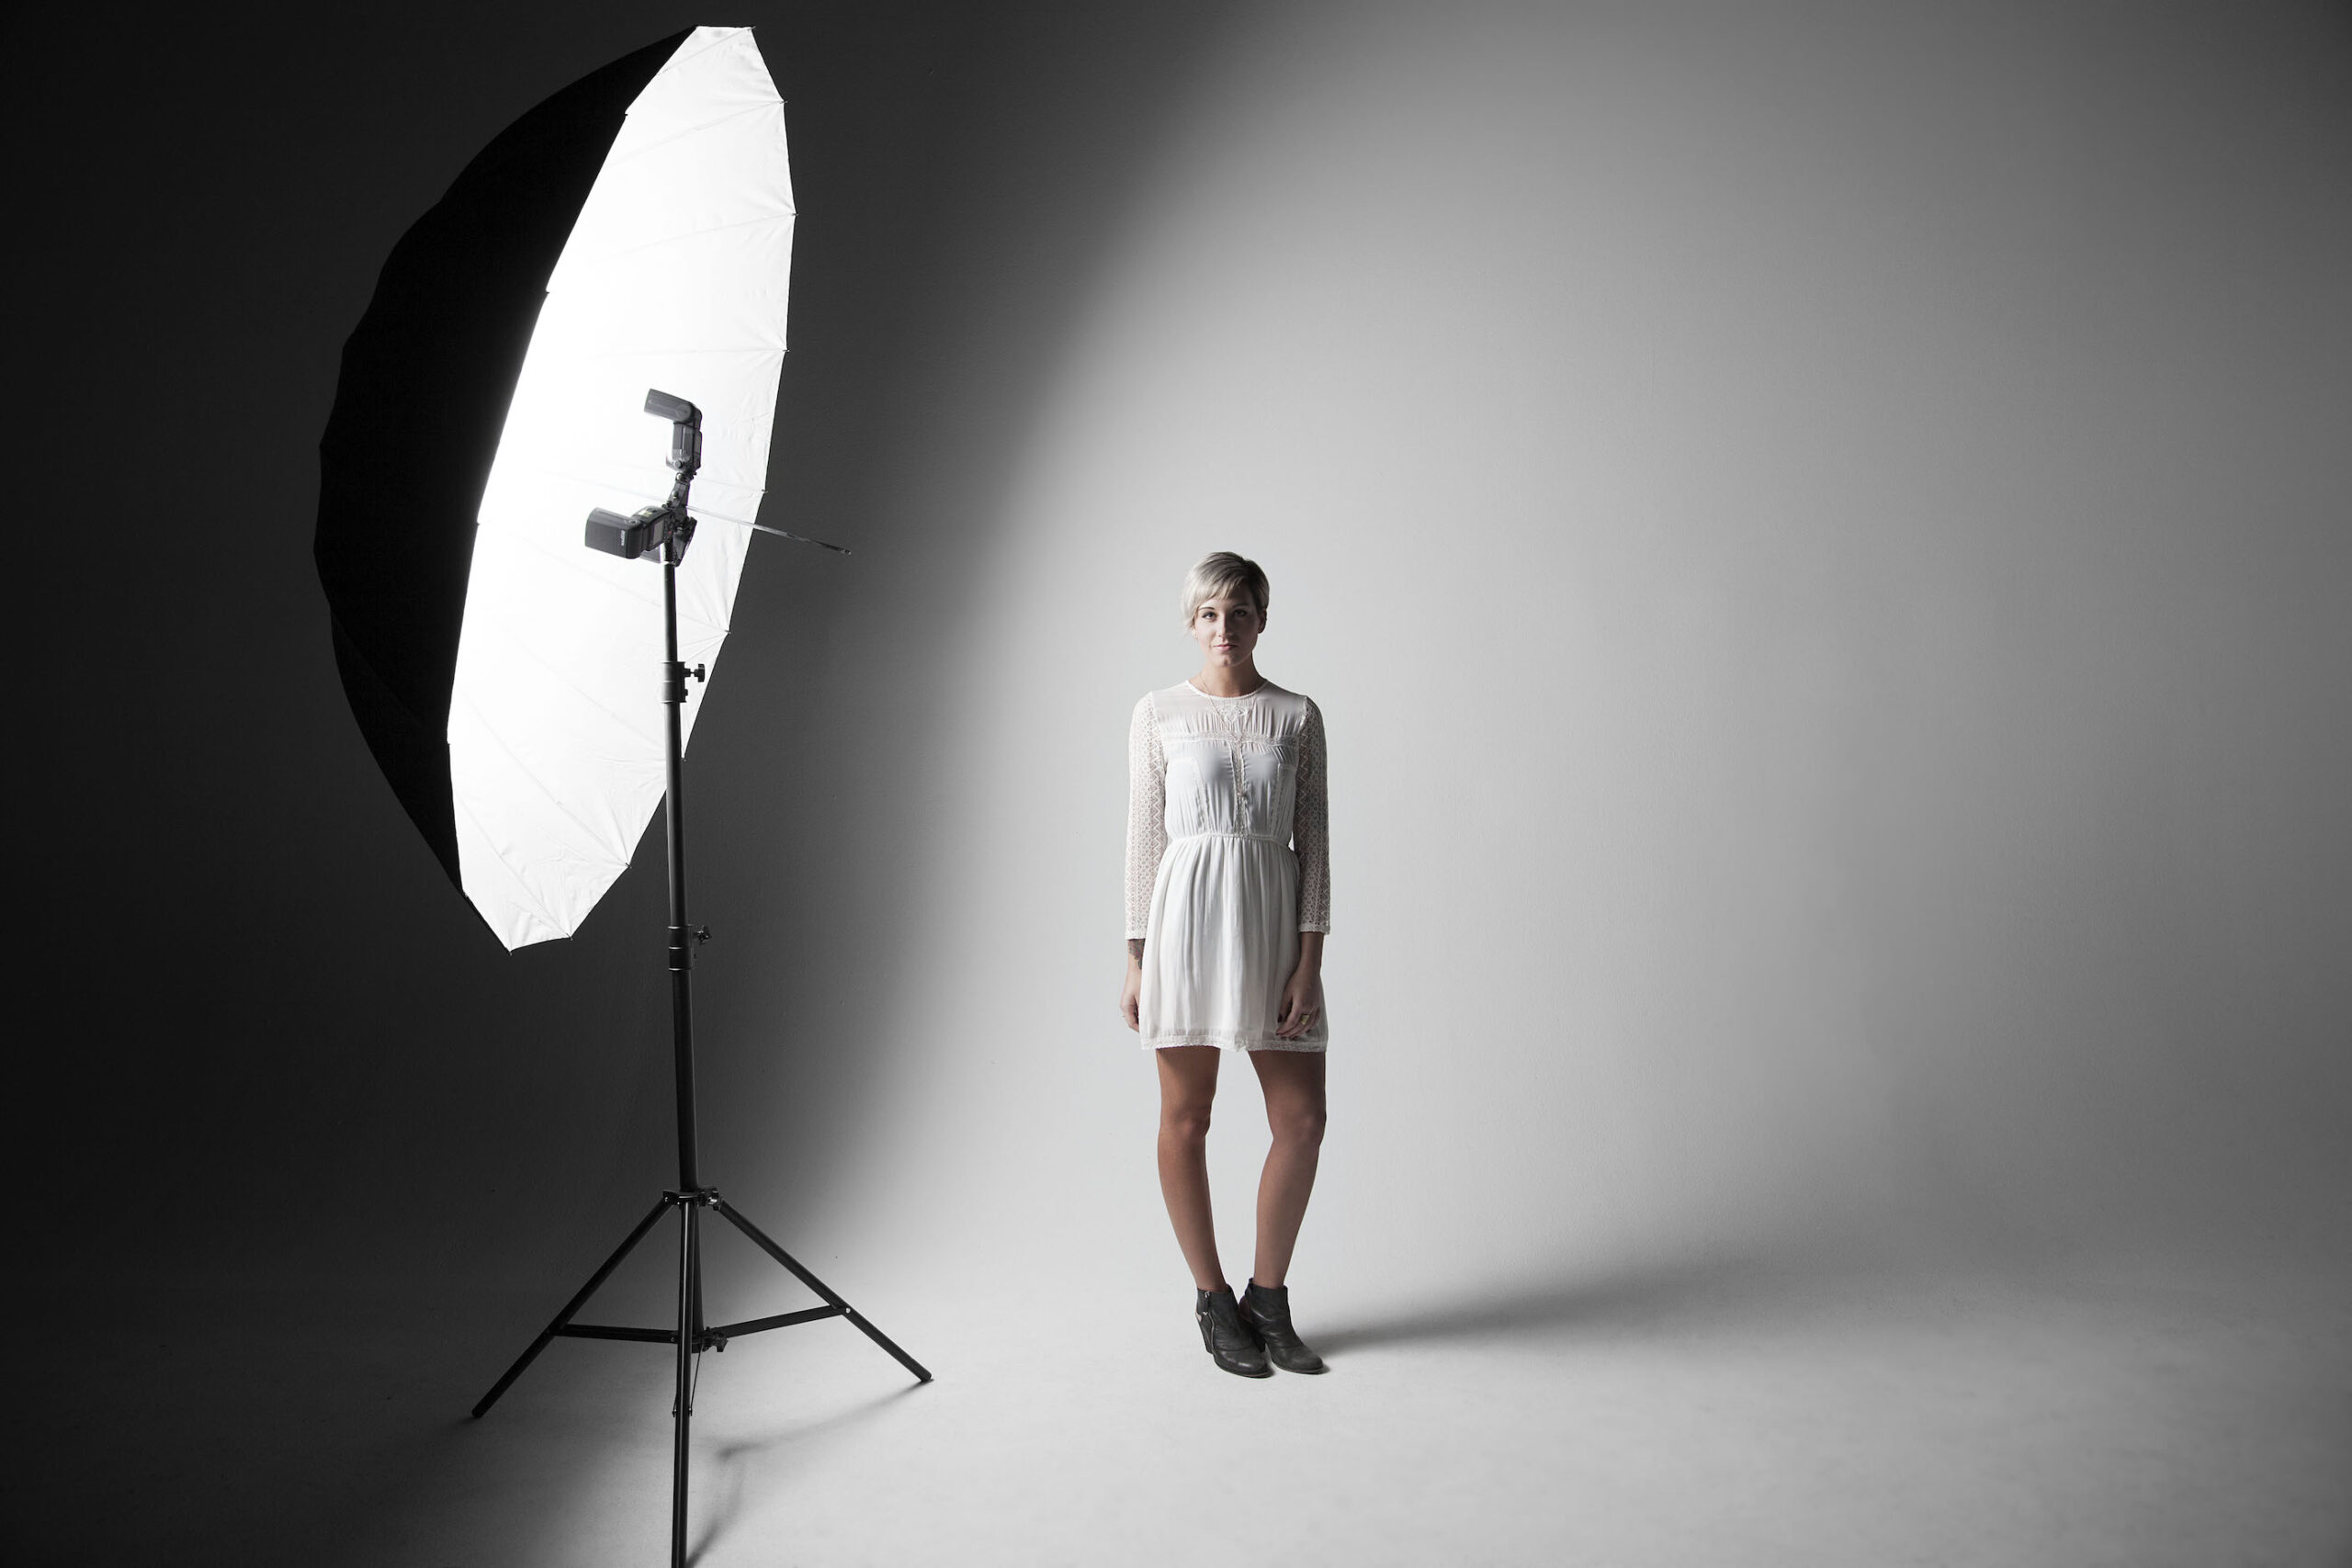
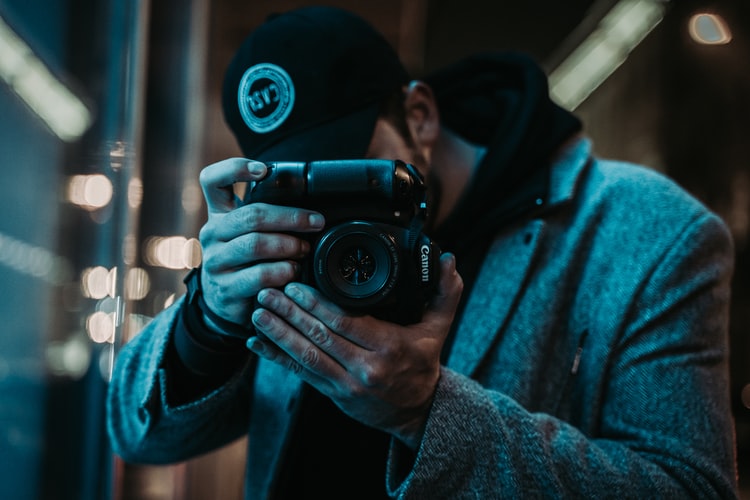
2. Flat/Front Light
Source: unsplash.com
When the light source is placed immediately in front of your subject, it is called front/flat light. Because the light is not angled, there may be a limited quantity of shadows. The light will be evenly distributed across the photo, with no section being exposed more or less than the others.
Flat lighting is useful for portraiture, especially if your subject has creases or flaws they want to hide. On the other hand, front lighting will not provide the detail you need to convey the subject’s touch of class if you’re trying to produce a picture with a distinct personality. This works well when you are doing outfits and photoshoots. For instance, if you are dealing with picture-perfect jackets, you want to make sure you capture the logo and best aspects of the cloth.
An additional advantage of employing front lighting is that it helps to make both sides of the face appear more proportionate, which is useful if you’re interested in symmetrical photography.
3. Backlight
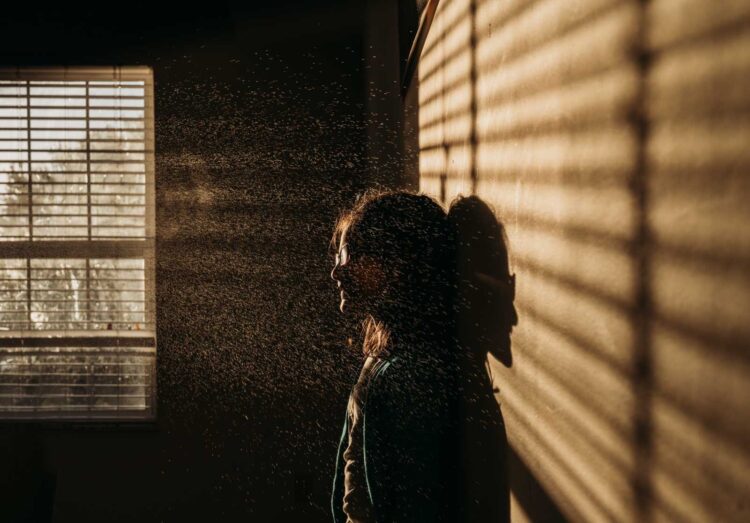
Source: pinterest.com
When the source of light is placed behind the subject and the subject is between the light and your camera, the photo is called backlit. This is a good time to experiment with delineation and lengthy shadows in your photos. Backlit images include the risk of having an incorrect white balance, resulting in a loss of detail in your subject.
This functions well for silhouettes, but if you’d like to see some texture on your subject, use your light diffuser to bounce some of the light from the background on the subject’s foreground.
4. Soft Light
Source: unsplash.com
Soft lighting occurs when a light source is diffused, resulting in a more gentle effect than with a frontal light source. You’ll get less severe shadows if any, and a reduced contrast between the darks and lights in your photo if you use soft light.
Soft Light produces amazing photos and is a good setting for when you are working in a studio. In an outdoor photoshoot, soft light can occur when it’s a bit cloudy.
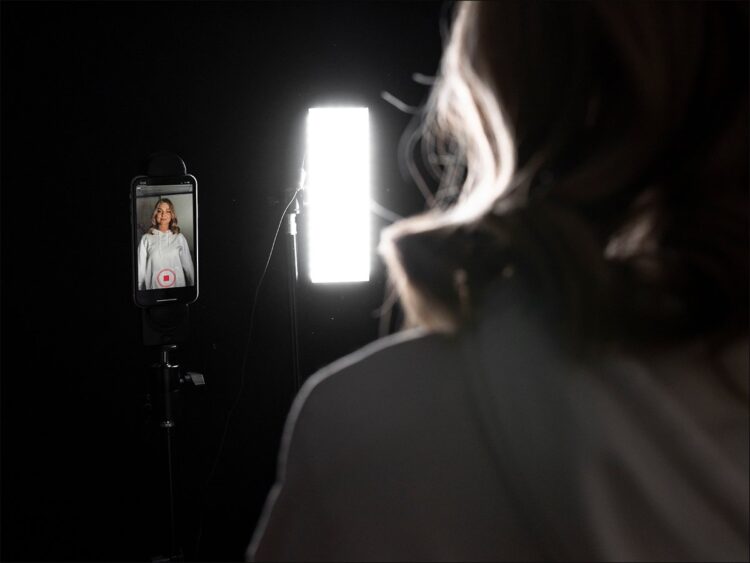
5. Led Lighting
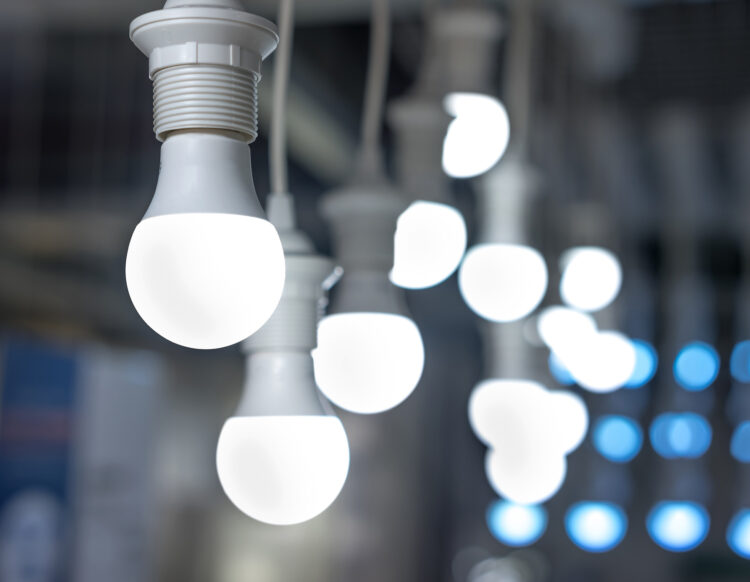
Source: pinterest.com
This is no cliche form of lighting for photography. While most people prefer full-length lighting, led lighting is among the lighting ideas that have a way of bringing out the best photography when utilized well. You can get the best LED lighting from Gindestar, click here for more info. Their quality is designed to suit both indoor and outdoor photography. When utilized well, they give outstanding studio photos. Give it a shot!
6. Butterfly Lighting

Source: lensrentals.com
Butterfly lighting, similar loop lighting, gets its name from the type of shadow it casts on your subject’s face. To generate a butterfly-shaped shadow behind your subject, place your light in front of and above them. Glamour pictures and headshots frequently use this lighting.
It goes without saying that it will also serve to highlight the other facial features with the same level of severity, which can be beneficial for highlighting high cheekbones. It is however discouraged if your subject has deep-set eyes because it will result in too much shadow under the eyes, which may ruin your initial goal for the shoot.
The Bottom Line
We all love to do amazing work with everything around us. Photoshooting is one of the few things no one wants to mess with. To ensure that you do an amazing job, focus on the lighting ideas given. In addition, remember to get a great display screen for your afterschool editing. It helps you have a closer view of the picture and do more magic on ruined ones.